Winter has a way of sneaking up on your skin, and your lips usually take the hit first. Cold air, wind, low humidity, and indoor heating can all pull moisture straight from the surface of the skin, leaving your lips dry, cracked, and sometimes even painful. Store-bought balms can help, but making your own gives you more control over what goes on your skin. It’s simple, inexpensive, and surprisingly satisfying. If you’ve never made a beauty product before, this is a great place to start.
Below is a detailed DIY lip balm recipe that you can mix up in less than half an hour. It works well as an everyday balm, a nighttime treatment, or even a small handmade gift. You don’t need special equipment, and most of the ingredients are easy to find online or at craft stores.
DIY Lip Balm Recipe For Chapped Lips: Ingredients
-
Lip balm containers
-
Glass measuring cup
-
Small grater
-
Yellow beeswax
You May Also Like
-
Coconut oil
-
Vitamin E oil
-
Measuring spoons
-
Stirrers
-
Microwave


RELATED: 5 Tips & Tricks To Save Chapped Lips
Directions
-
Prep your measuring cup
Add a few drops of oil to the bottom of the glass measuring cup. Coconut oil or even a bit of olive oil works fine. This tiny step keeps the mixture from sticking and makes cleanup faster. It also offers a small boost of nourishment to the final balm. -
Measure the coconut oil
Scoop out two teaspoons of coconut oil, pressing it down so the spoon is fully packed and level. Scrape it into the cup. Coconut oil melts quickly and blends smoothly with beeswax, which is why it’s such a common base for homemade balms. It gives the finished product a soft, silky feel. -
Grate the beeswax
Use your small grater to shave off a full tablespoon of yellow beeswax. Don’t skimp on this step. Beeswax is what gives lip balm structure. Too little and the finished balm will feel thin and oily; too much and it can feel a bit stiff. A full tablespoon hits a comfortable middle ground. -
Melt the mixture
Place the cup in the microwave and heat in short bursts—about 20 seconds at a time—until the mixture melts into a smooth, golden liquid. Stir between each round of heating to help everything blend. It should look clear and uniform when it’s ready. -
Add Vitamin E
Once melted, squeeze in a few drops of Vitamin E oil. This tiny addition helps nourish dry skin and can extend the shelf life of your balm. -
Pour and set
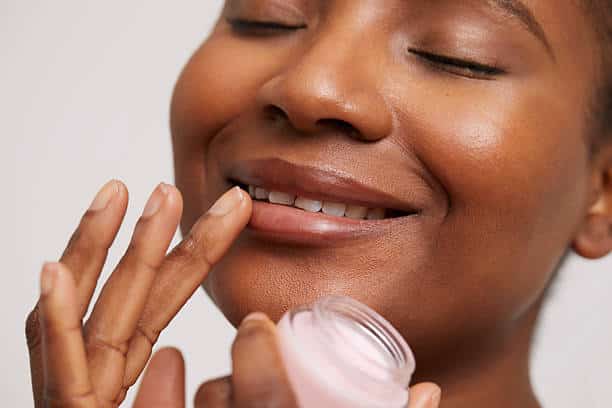
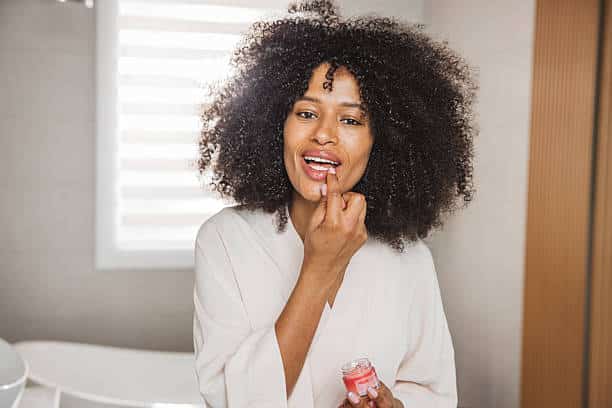
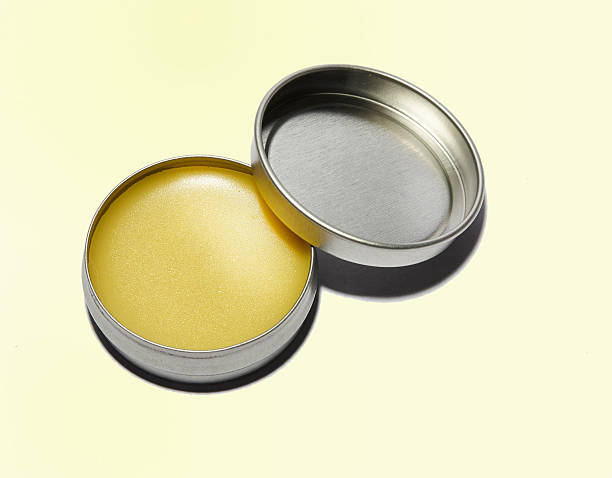
Carefully pour the warm liquid into your lip balm containers. You can use small tins, tubes, or even the little pots used for travel-size creams. Let the balms sit for several hours until they solidify. Once fully set, they’re ready to use.
Why this recipe works
This simple combination of beeswax, coconut oil, and Vitamin E offers a balance of moisture, protection, and softness. Beeswax creates a light, breathable barrier on the skin. Coconut oil sinks in quickly and helps soothe the dryness you already feel. Vitamin E acts as an antioxidant and mild conditioner.
Another benefit: you know exactly what’s in it. There are no artificial fragrances, dyes, or fillers. If you prefer scented balms, you can add a drop of peppermint or lavender essential oil, but avoid anything too strong. Your lips are sensitive, and you don’t want to irritate them.
Extra ways to customize your balm
If you want to go beyond the basic recipe, here are a few simple tweaks that still keep the process approachable:
-
For a firmer balm: Add an extra teaspoon of beeswax.
-
For a softer balm: Add a few more drops of coconut oil.
-
For a slight tint: Melt a tiny bit of your favorite lipstick into the mixture. A sliver the size of a grain of rice gives a nice wash of color.
-
For extra richness: Add a small scoop of shea butter. It melts smoothly and gives a more luxurious feel.
Winter is rough on lips—here’s why
Chapped lips show up fast in cold weather because the skin on your lips is thin and doesn’t produce oil the way the rest of your skin does. It’s exposed to wind, temperature swings, and dry indoor air almost constantly. Once they start cracking, it can take days to repair the damage unless you protect them.
The Mayo Clinic notes several simple habits that can help prevent chapping in the first place. Most of them take only a minute or two but make a noticeable difference.
Mayo Clinic tips for preventing chapped lips
-
Apply balm before you go outside. Use something with a thicker texture that stays put. Covering your mouth with a scarf adds another layer of protection.
-
Don’t lick your lips. It feels soothing for a second, but saliva evaporates fast and leaves your lips drier than before.
-
Stay hydrated. Drinking more water won’t fix chapped lips instantly, but it keeps your skin from drying out as quickly.
-
Use a humidifier indoors. Heating systems strip moisture from the air. A humidifier helps counter that and makes a noticeable difference overnight.
-
Avoid irritants. Some lip products contain fragrances, dyes, or even certain sunscreen ingredients that can irritate sensitive lips.
-
Breathe through your nose. Mouth breathing sends air directly over your lips and dries them out quickly, especially while sleeping.
A small container of homemade balm can go a long way. Keep one in your coat pocket, one on your nightstand, and maybe one in your bag. With a little consistency, you’ll notice your lips stay softer through winter instead of cracking at the first cold wind.